Audiovisual learning spaces
Audiovisual learning spaces are designed to enhance the learning experience of students and teachers by providing them with various technologies and facilities.
UQ offers a range of audiovisual learning spaces across its campuses, designed to support various modes and styles of learning. They also enable students and teachers to connect and communicate with each other online using Zoom.
Find out about the different kinds of learning spaces, familiarising with the audiovisual equipment and how to use it.
Central learning spaces are equipped with:
- desktop computer (inc. Zoom)
- document camera
- web camera
- inputs for instructor devices
- data projector or LCD panel
- Lapel/hand held microphones
Input selection and other controls such as lighting and recording functions are managed by a touch panel located at the lectern.
All central collaborative learning spaces have audience cameras and microphones for enhanced dual synchronous teaching and recording functionality.
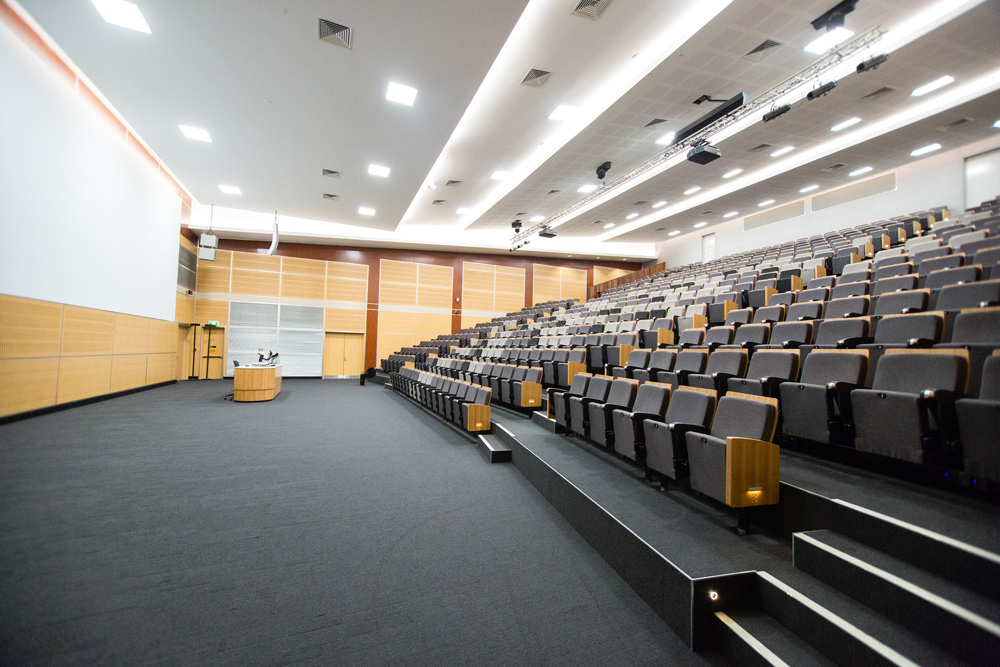
Learning theatre
Learning theatres are well suited to traditional lecturing experiences and events. They feature:
- tiered seating
- a stage with a large lectern
- room for a panel discussion.
Some learning theatres have one display; some have two for two different streams of content.
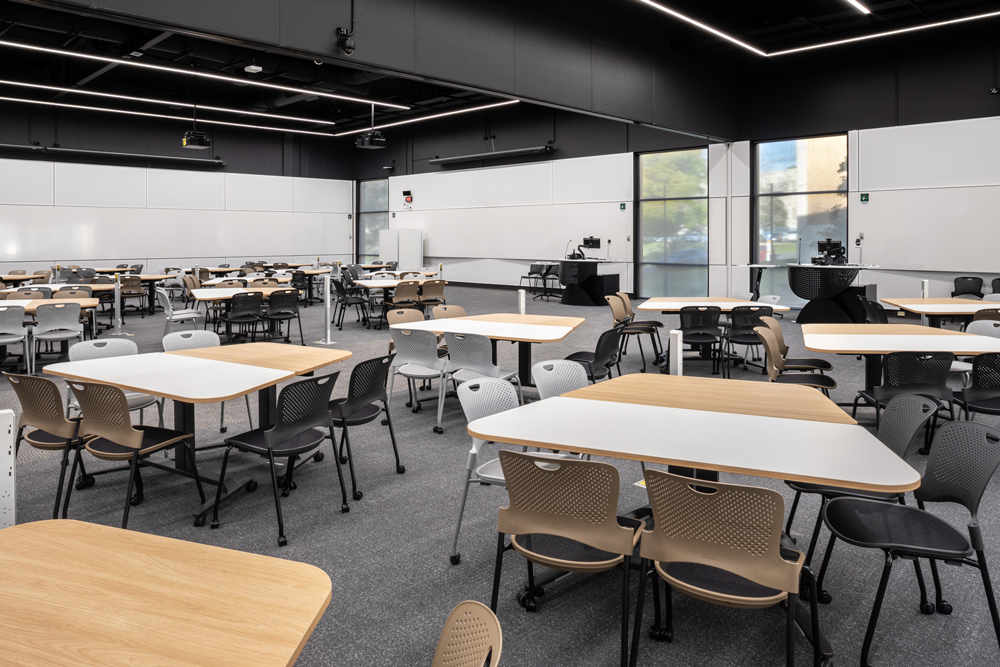
Collaborative
Collaborative spaces allow collaborative learning and interactive discussion experiences. They feature:
- flat floors
- group tables
- movable chairs with a small lectern.
These spaces often feature multiple displays delivering the same content to different viewpoints.
Collaborative spaces are also the best set up for interactive hybrid learning.
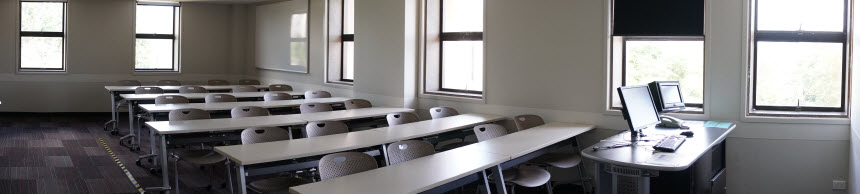
Seminar
Seminar spaces are best suited for seminars and tutorials. They feature:
- front-facing tables and chairs that are not easily moved
- a lectern and single display at the front of the room.
Standard forward-facing tables and chairs, furniture not easily moveable and single AV display.
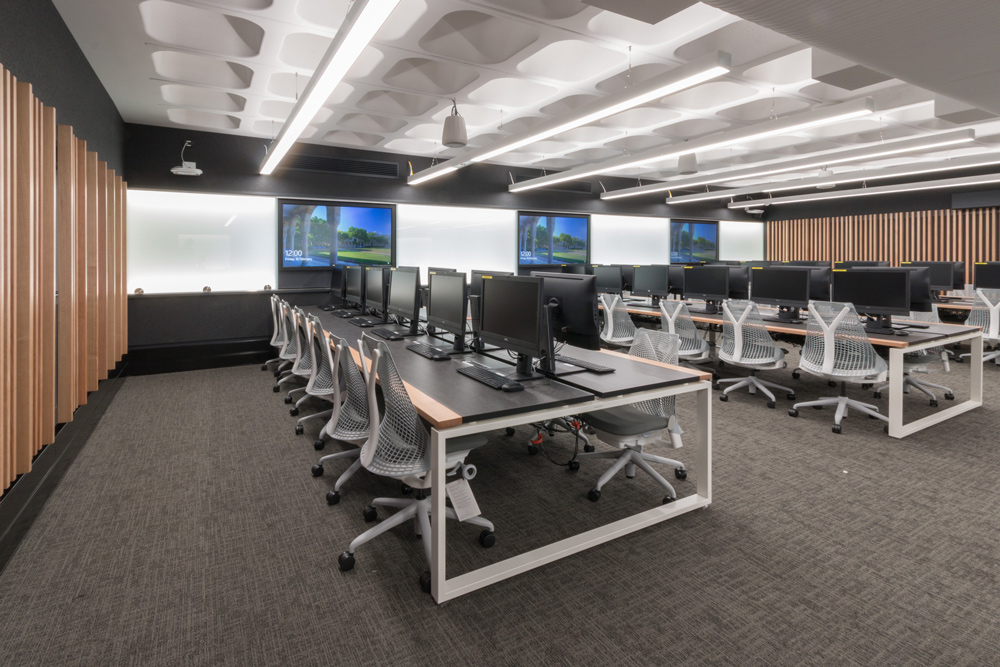
Computer lab
Computer labs are flat floor spaces with dedicated computers for software-based learning. These rooms have a presenter station and multiple displays delivering the same content to different viewpoints around the space.
Presenter's lectern
The presenter's lectern is typically consistent across all audiovisual learning spaces. Discover the equipment available on the lectern.
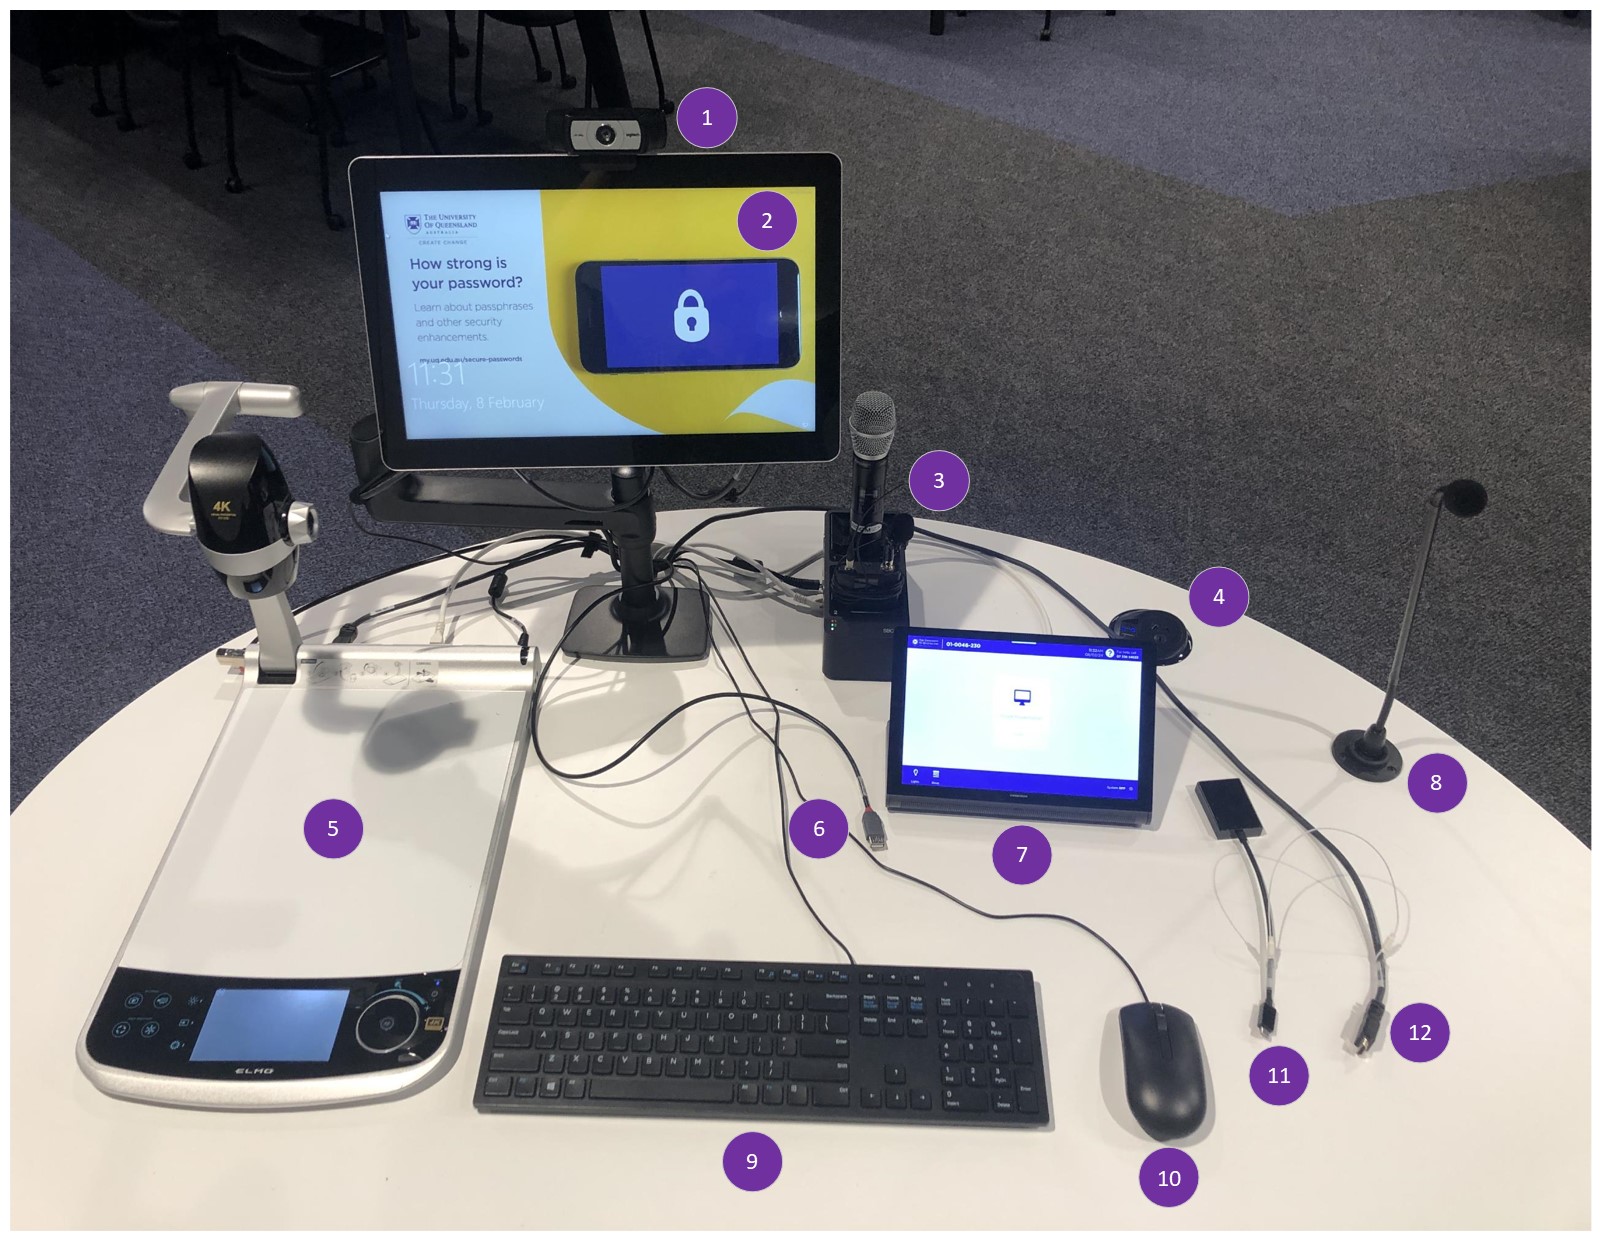
- Webcam
- Preview monitor. Shows the selected display source in the room or the one being previewed, such as the lectern PC, document camera or laptop.
- Lapel and hand-held microphones
- Power for BYO devices. Some lecterns have plugs as shown, or USB-A/USB-C. Some lecterns have no outlets.
- Document camera
- PC USB. Use this to connect a flash drive to the lectern PC.
- AV touch panel
- Microphone
- Lectern PC keyboard
- Lectern PC mouse
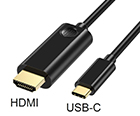
- USB-C adapter to connect laptop
- HDMI cable to connect laptop
Recommended equipment
Prepare for effective delivery of your content in AV spaces with a selection of recommended equipment.
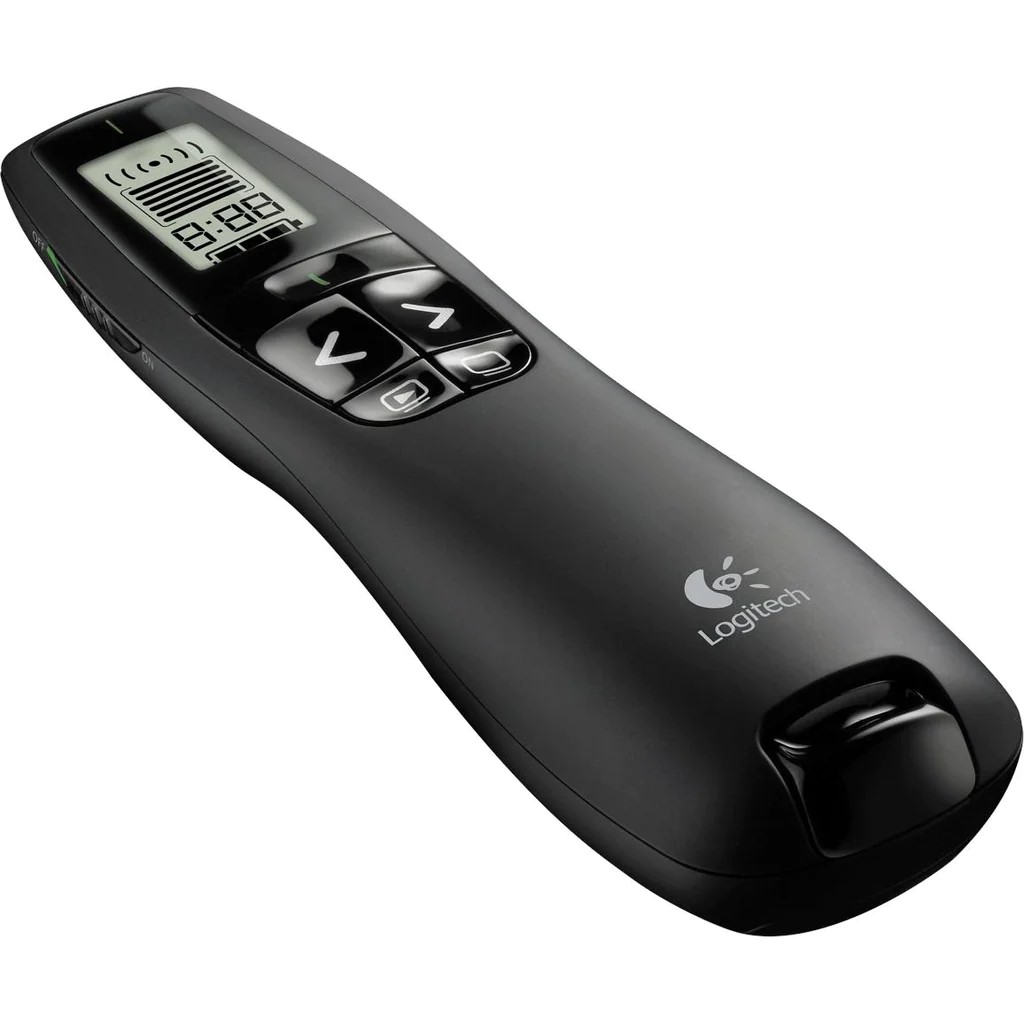
Presentation clicker
The clicker enables you to walk around the room and engage with students while presenting. See regularly purchased AV equipment for ordering information.
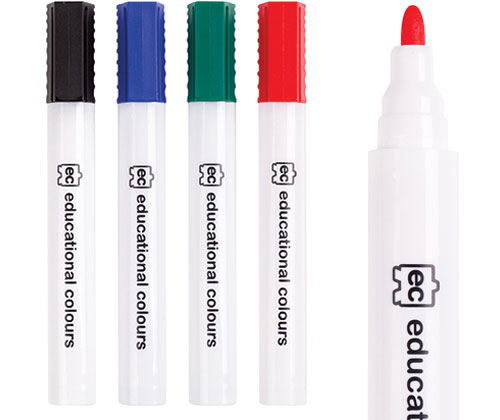
Whiteboard markers
Whilst there may be whiteboard markers in the rooms, it is recommended you carry your own markers.
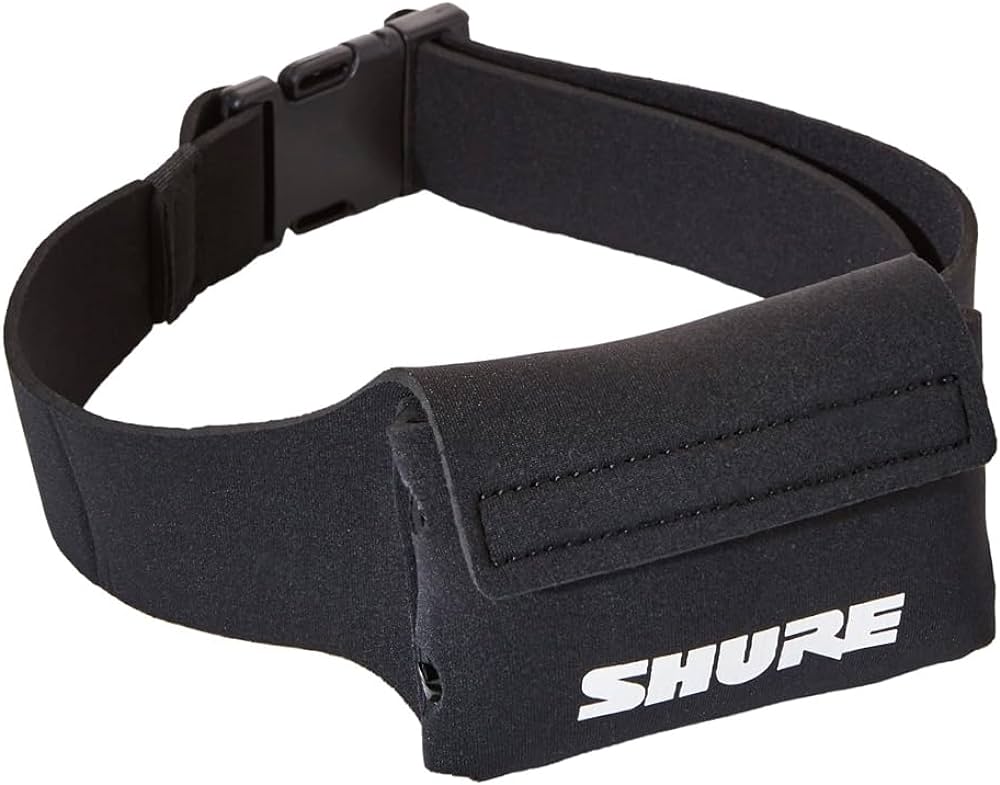
Microphone pouch
Arm and belt microphone pouches are available. These are useful if you are wearing clothes with no pockets. See regularly purchased AV equipment for ordering information.

Laptop HDMI or USB-C adapter
If your device doesn't have an available HDMI or USB-C port, you'll need to use an appropriate display adapter. Display adapters aren't provided by ITS, so you may need to supply your own.
UQ staff can buy adapters through UQeMarket. If you're unsure which adapter you need, submit an IT request with the model details of your device.
AV touch panel
The Crestron touch panel audiovisual (AV) system is installed in all central teaching spaces and some departmental teaching spaces. The system is used to control the display screens, speakers, lights and blinds in these rooms.
See the Crestron touch panel audiovisual system user guide for information and instructions about using the AV touch panel.
If the touch panel shows an 'AMX' logo, follow the instructions on the AMX touch panel audiovisual system user guide.

Lectern PC
Most learning spaces have a lectern PC for making presentations. Make sure the PC is turned on.
You can log in to this computer using your UQ username and password, or with:
- username: lecture
- password: lecture
Using a laptop
You can connect your own device to the AV system in most rooms using the available HDMI or USB-C cables.
To connect your device:
- Securely connect the HDMI or USB-C cable to your device.
- Make sure you have the correct display settings selected on your device to duplicate (mirror) or extend your device's display onto the room screen.
- Select 'Laptop' as the source input on the touch panel.
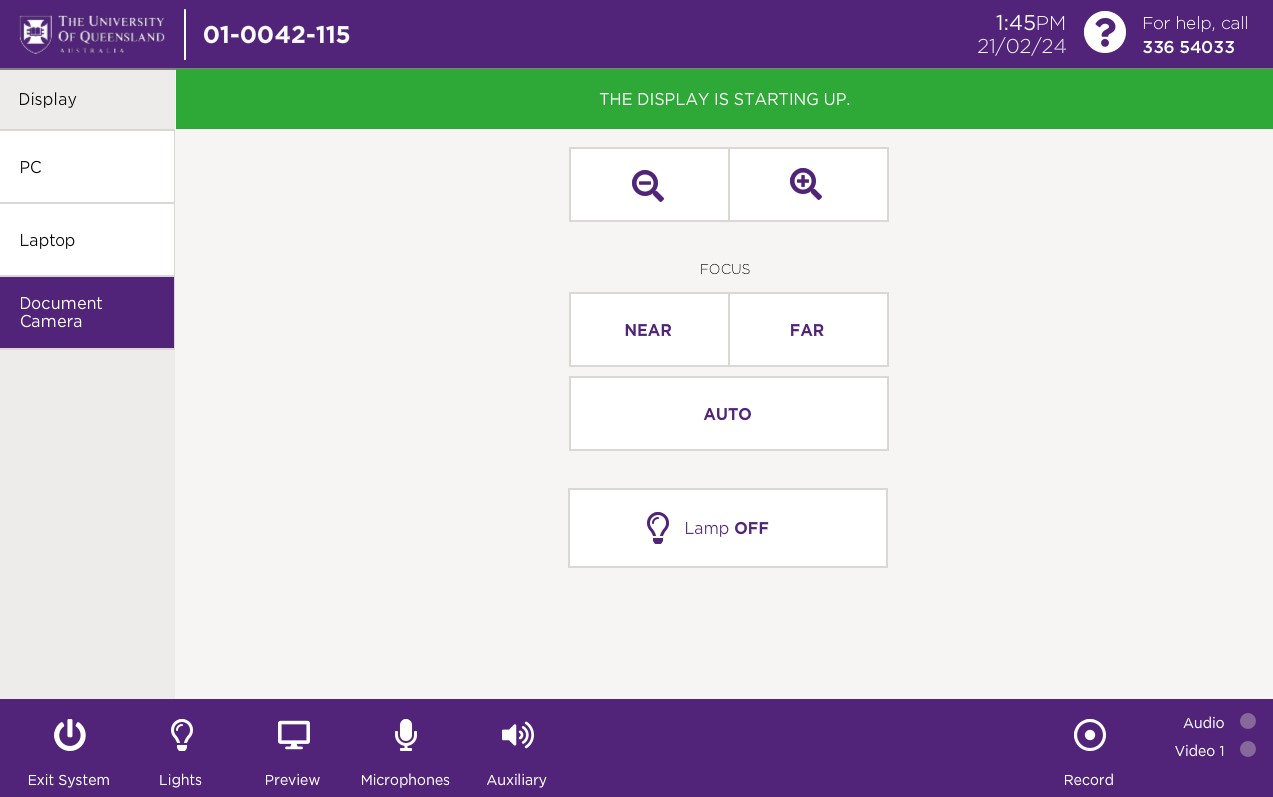
Document camera
Most central teaching spaces on campus have document cameras. You can use the touch panel to control the functions like zoom and focus for these cameras. These controls will appear on the touch panel after you select a 'Document Camera' as the input.
- On the AV touch panel, tap the source 'Document Camera'.
- Once the document camera has started, you can use the on-screen controls to zoom, focus or turn the lamp and off.
Wireless presentation
You can use Zoom to wirelessly share the screen of a laptop or mobile phone in a learning space for presentations. See Wireless presenting in a teaching space with Zoom for set up instructions.
Hybrid teaching using Zoom
Parallel teaching allows you to teach to a physical class in a UQ teaching space and on Zoom at the same time. See Parallel teaching from a UQ lecture theatre for instructions.
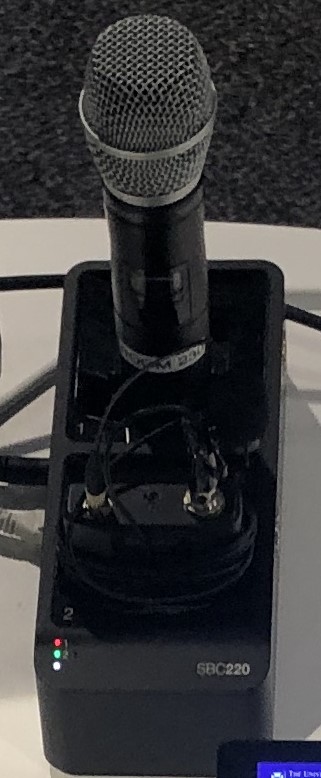
Microphones
Most learning spaces are equipped with a lapel microphone and a handheld microphone.
Rooms with capacity of 200 and above have 2 lapel and 2 handheld microphones.
Microphone volume control
- Select 'Microphones' on the touch panel to access the microphones volume page. Each microphone in the room will have its own volume slider.
- Slide the volume control left or right to increase or decrease the volume of the selected microphone within the room's sound system. You can also mute the microphone by selecting the speaker icon on the right of the volume slider.

Make sure to place the microphone back into the charging dock when you are finished, so the next user has a charged microphone.
Room settings
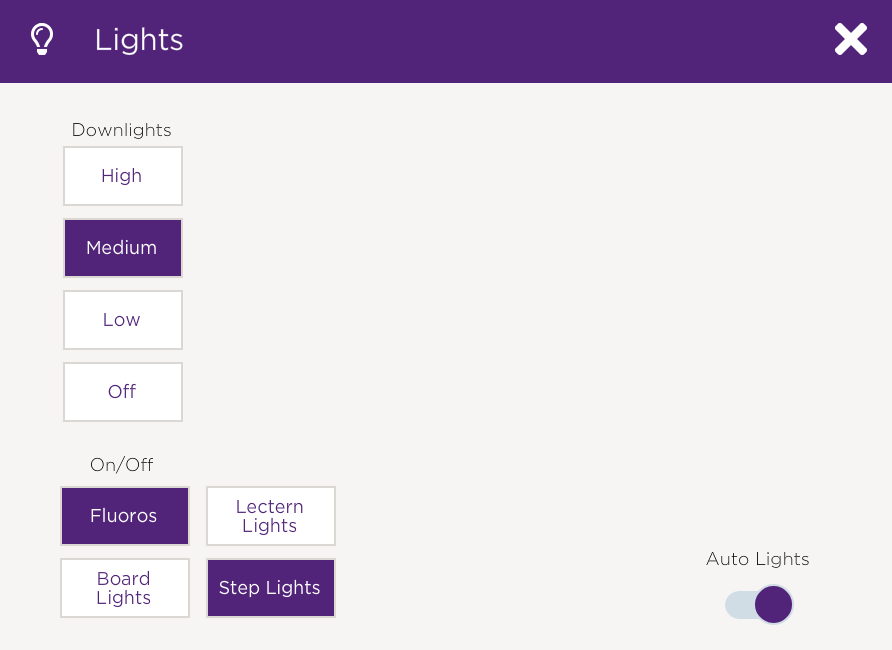
Lighting
In many central learning spaces on campus you can access lighting controls by selecting 'Lights' on the touch panel. The available lighting control options will vary between rooms, depending on the design of the teaching space.
Room lighting may change automatically when the AV system is turned on and off, or when you make a source input selection. You can disable this by touching 'Lights' and then disabling 'Auto Lights'.
Most central teaching spaces have illuminated lighting controls near the entrance:
- the green 'Entry' button turns on the room lighting before the AV system has been turned on
- the red 'Exit' button turns off all lights if the AV system has been turned off.
Blinds
The AV system controls motorised projection screens and blinds. They will automatically extend when you select a source input and retract when you turn the system off.
You can control the screens and blinds manually by selecting 'Screens' or 'Blinds' on the touch panel.
Audio settings
When using the room's Lectern PC or your own device, make sure that the:
- volume is turned up on the selected device,
- the device is not muted,
- and the correct audio playback device is selected within the device's audio settings.
Selecting an audio playback device
Follow the steps below to make sure that you have selected the correct audio playback device.
On Windows PC devices:
- Click on Volume in the taskbar at the bottom right of your screen.
- Click the drop down menu above the volume.
- Select the correct playback device.
On Apple macOS devices:
- Hold down the Option key and click on Volume in the menu bar at the top right of your screen.
- Select the correct playback device.
Volume controls
Source input volume control
A volume control slider will appear on the touch panel if you have selected a source input that uses sound, such as the Lectern PC or a laptop.
Slide the volume control left or right to increase or decrease the volume of the device within the room's sound system. You can also mute the device by selecting the speaker icon on the right of the volume slider.
AV Support
For immediate help, contact the on-call support team:
- Phone: 07 3365 4033
- Extension: 54033
If you have a non-urgent request, submit an IT request for all campuses and sites.