Parallel teaching from a UQ lecture theatre with Microsoft Teams
Parallel teaching allows you to teach to a physical class in a UQ teaching space and via an online meeting at the same time. This guide covers the process of joining a Microsoft Teams meeting and sharing content with meeting participants while using a Lectern PC within a UQ teaching space.
Room equipment
The Desktop PC's display can be shared with meeting participants, though the PC can also be used to share content from laptops and document cameras connected to the room's AV system.
Microphones
Sound captured by the lecture theatre's lectern microphone, room microphones, and wireless microphones can be heard both in the lecture theatre and by meeting participants. People participating via the online meeting can be heard over the lecture theatre's speakers.
Joining a Teams meeting from a Lectern PC
- Log in to the Lectern PC with your UQ login credentials.
- Open the Start menu, type the word 'Teams', then select 'Microsoft Teams' when it appears.
- Select 'Sign in', enter your UQ email address, then enter your UQ login credentials.
- Once logged in to Teams, you can join a scheduled meeting, or start a new meeting:
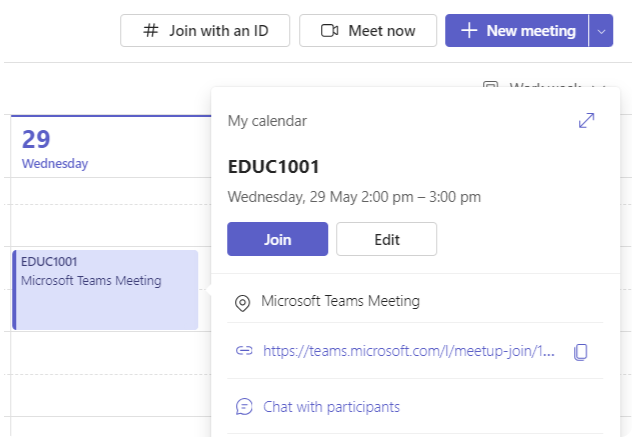
- Join from your Calendar: Select the 'Calendar' icon, select the meeting you want to join, then select 'Join'.
- Join with Meeting ID: Select the '# Join with an ID' option, enter the Meeting ID number, then select 'Join meeting'.
- Start a new meeting: If you have no meeting scheduled, select the 'Calendar' icon, select the '+ New Meeting' option, enter the relevant details in the available fields, then select 'Save'. Select the created meeting within your calendar, then select 'Join'.
Sharing the Room PC's screen
- While in a meeting, select the 'Share' icon at the top right of the meeting window.

- Toggle the 'Include sound' option on if you are sharing video or audio content.

- Select the content you want to share:
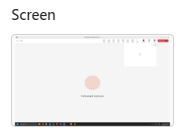
- Share your entire screen: Select on the thumbnail of your screen within the 'Screen' section to start sharing.
- Share a specific app window: Select the 'Window' thumbnail, then select the app window you want to share.
If you want to share a powerpoint presentation, make sure that the presentation is running before you attempt to share it.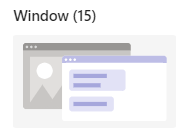
- Share your entire screen: Select on the thumbnail of your screen within the 'Screen' section to start sharing.
Sharing video input sources
This section covers the process of sharing content of video devices that are physically connected to the room's AV system, such as document cameras and portable devices connected via the lectern's HDMI cable.
- Power on the room's AV system via the touch panel, then select the 'PC' input option.
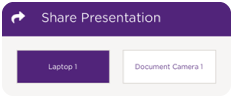
- Select the 'Share' option.
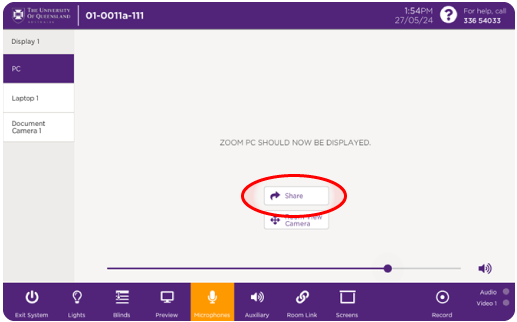
- Select the input source you want to share.
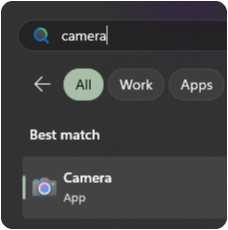
- On the Lectern PC, open the Start menu, type the word 'Camera', then select the 'Camera' app when it appears
- Find the input source you want to share by clicking the icon at the top right of the Camera app window.

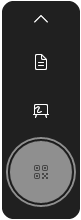
- Change the app to 'Barcode' mode, as this ensures the app does not attempt to frame and auto-focus on faces or documents as it does in other modes. The option will appear as per below when set correctly:
- Expand the Camera app window so that it fills the screen.

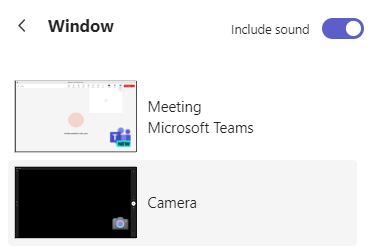
- Within the Teams meeting, select the 'Share' icon at the top right of the meeting window.
- Toggle the 'Include sound' option on if you are sharing video or audio content.
- Select the 'Window' thumbnail.
- Select the 'Camera' option from the list of available windows.
Sharing from a Windows laptop
It's possible to connect a Windows laptop to a Teams meeting when you are already logged in to the meeting on the room's Lectern PC.
There may be a short audio or video delay when sharing content
to a Teams meeting using this method.
- If you have not yet done so, follow the steps within the 'Joining a Teams meeting from a Lectern PC' section above.
- To avoid audio feedback, make sure that the laptop's speakers are muted.
- Open and log into Teams on the Windows laptop.
- Once logged in, Teams will recognise that your account is already connected to an active meeting, as indicated by a message at the top of the window. Select 'Join call'.

If you don't see this message, select the 'Calendar' icon, select '# Join with an ID', enter the Meeting ID, then select 'Join meeting'. - Select the 'Add this device' option.

- Select the 'Share' icon at the top right of the meeting window.
- Toggle the 'Include sound' option on if you are sharing video or audio content.
- Select the content you want to share:
- Share your entire screen: Select on the thumbnail of your screen within the 'Screen' section to start sharing.
- Share a specific app window: Select the 'Window' thumbnail, then select the app window you want to share.
- Share your entire screen: Select on the thumbnail of your screen within the 'Screen' section to start sharing.
You must continue to use the room's lectern or wireless microphones whilst sharing content from a laptop connected to the meeting.