Teaser image
This guide is for sites built in the new version of Drupal (like Study or Scholarships).
If you're working on a Drupal 7 (UQ Standard) site, see images on Drupal 7.
Understanding teaser images
Teaser images should be visually engaging and clearly relevant to the content of the page they're used for. They appear in content listings and should encourage users to click through to the page.
Teaser images are used on the following content types:
- articles
- events.
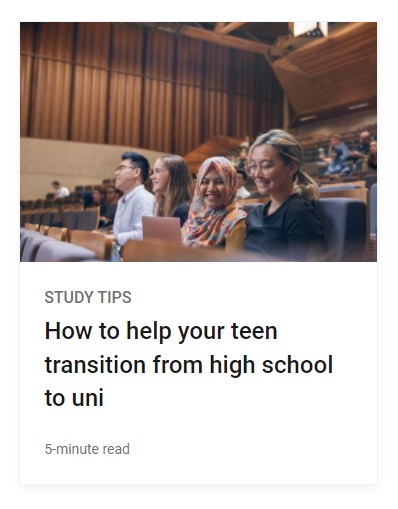
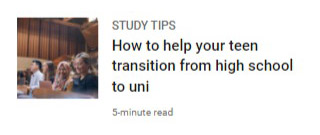
See examples
Teaser images display in 2 variations depending on the context:
Creating a new teaser image
Step 1: Select your image
Select an image to use as your teaser image.
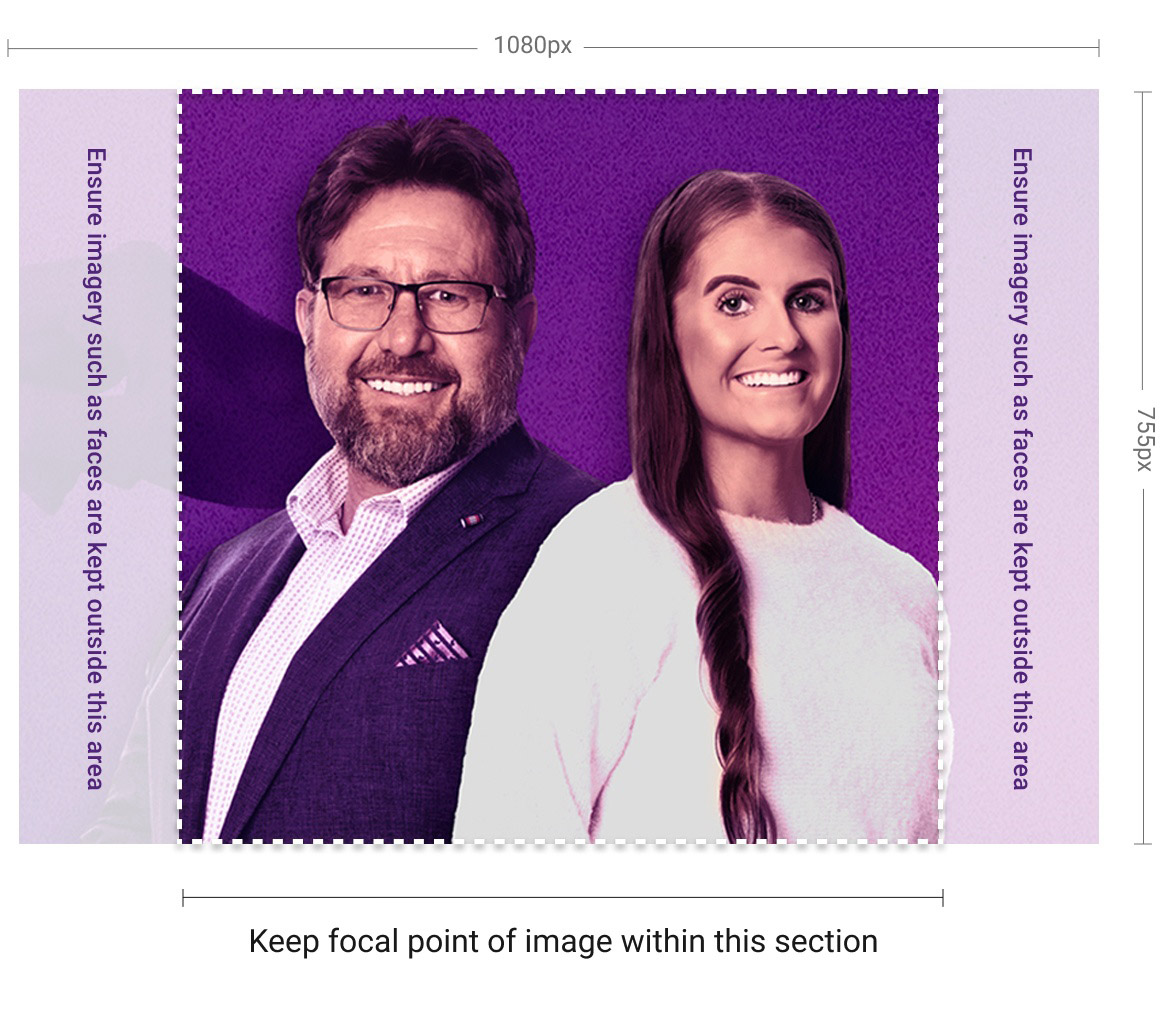
It must be at least 1080px wide x 755px high.
Step 2: Use the template to create your teaser image
Using the template will ensure the teaser displays correctly across various screen resolutions.
- Download the teaser image template (staff login required) from the DAM. If you don't get taken directly to the template, make sure you're logged in to the DAM and try the link again.
- Open both the template and your image in Photoshop.
- Copy and paste your image into a new layer on the template.
- Ensure the 'Mask layer' is at the top of the 'Layers' panel.
- Select 'Edit'> 'Free transform' to resize your image proportionally.
- Ensure the image covers the full area of the template.
- Ensure the main content (such as faces) sits within the guidelines (refer to template guidelines below).
- Hide the 'Mask layer' by clicking the eye icon to the left of the layer name.
Step 3: Save your teaser image
- When you are happy with your teaser image, in the 'Layers' panel, go to the top-right menu and select 'Flatten image'. (If you are asked to discard hidden layers select 'Ok'.)
- Go to 'File' > 'Export as'.
- Set the 'Format' as JPG and 'Quality' as 70%.
- Click the 'Export' button and then save. Follow the UQ file naming conventions when saving your image.
Your image will be saved at the correct specifications:
- Image size: 1080px x 755px
- Resolution: 72 DPI
Template guidelines
Use the guidelines to position your image correctly, with the main content (such as faces) inside the indicated guidelines.